
Launch a sandbox
In this page, we describe how to start a new sandbox with your code and configuration. We will use a simple version of a demo app to illustrate the process.
Start a sandbox from home page on Web Console
From the home page in Crafting Web Console, we can start a new sandbox right there.
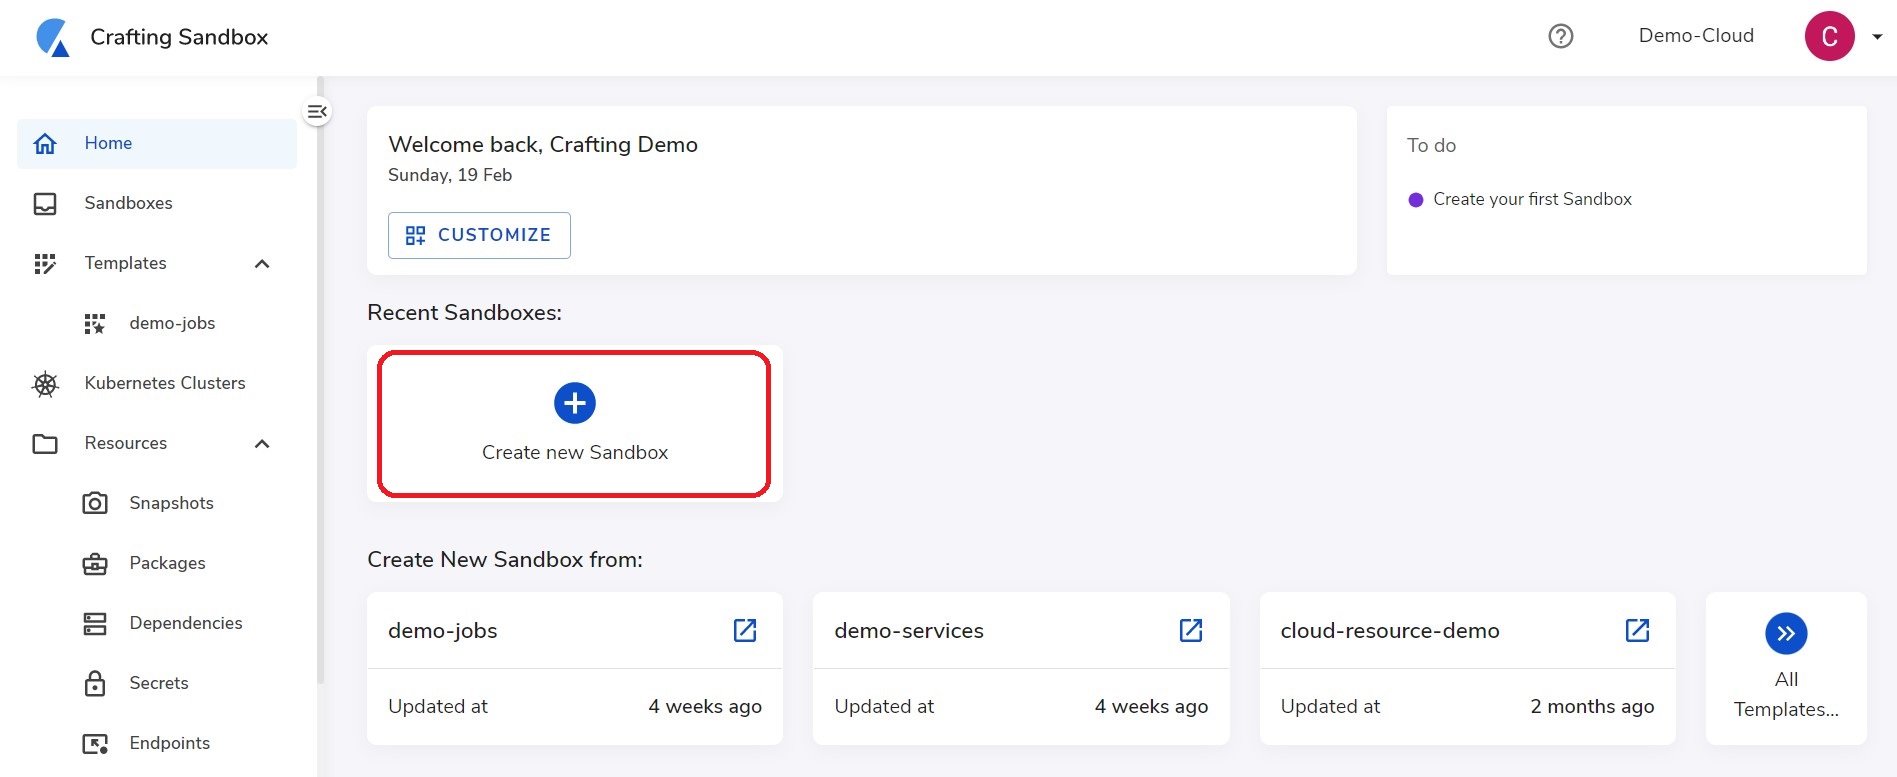
Clicking the card, there are some options shown in the dialog.
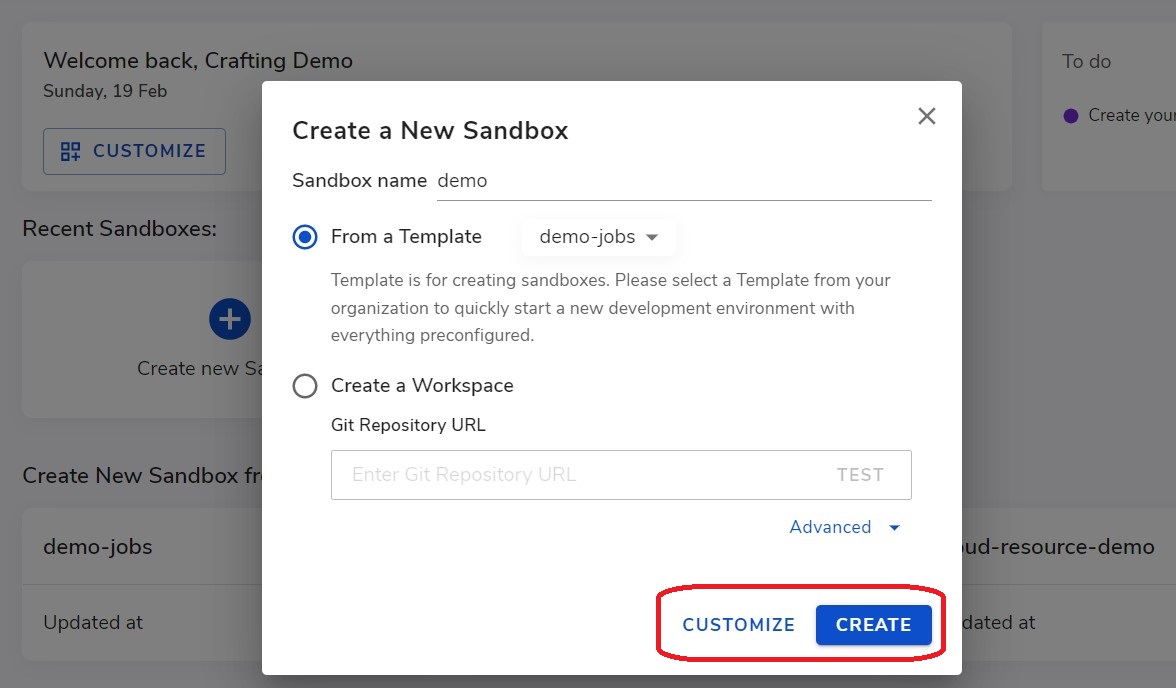
If your organization already defined templates for developers to choose from, it will default to the option of creating a sandbox with a pre-defined template. You can select a template you need and create a sandbox.
You can click the Create button on the bottom to launch a sandbox with the default config, or click Customize to get to customization page, as shown below.
You can also choose Create a Workspace if you don't want to use any pre-defined template. The flow is covered in Start a Workspace.
Customize checkout
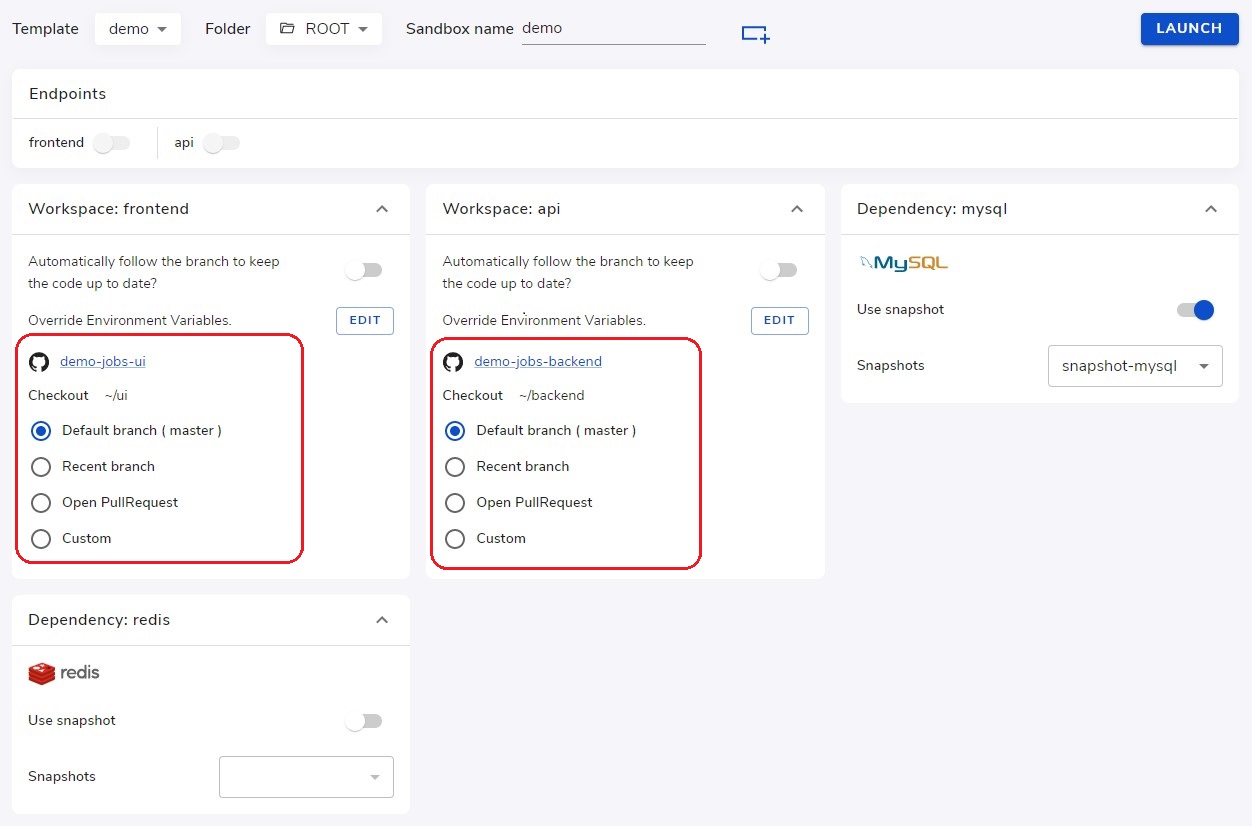
You can customize with version of the code you want to checkout and run in your sandbox from the customization page. It can be different from the default branch defined in the template to fit different purposes of the sandbox, e.g.,
- For coding a new feature, you can create the sandbox from master, and then do
git checkout -bto create your own branch in the sandbox - For previewing, you can select a branch that is recently pushed to the repo (
Recent branch) or a branch that is corresponding to an open Pull Request (Open PullRequest) - Or you can simply specific a custom branch or tag to checkout code from (
Custom)
Customize environment variables
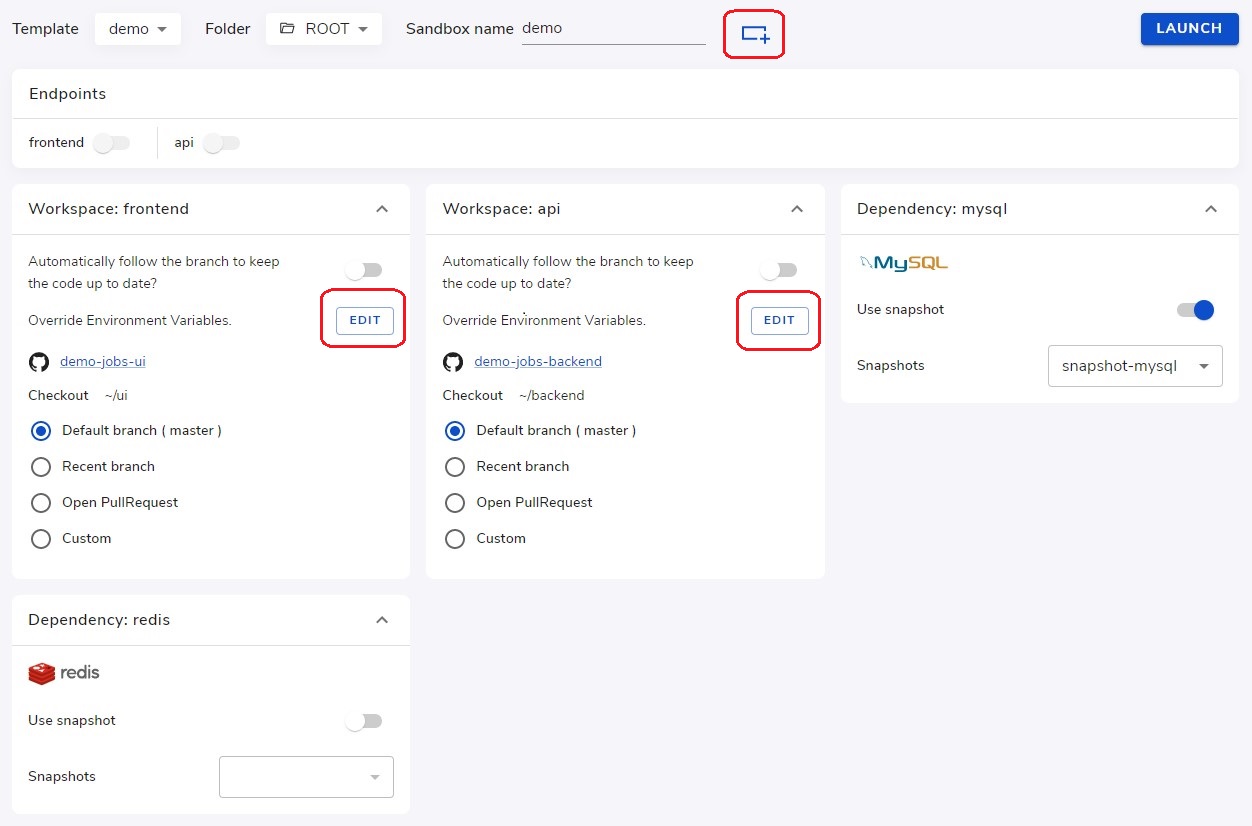
Another common customization is to override the default environment variables in the sandbox to have your own configuration on top of the template. The buttons highlighted above allows you to customize environment variables on sandbox level (applied to all workspaces) or on individual workspace level. Please see Environment variables (ENV) for details.
Customize data snapshots
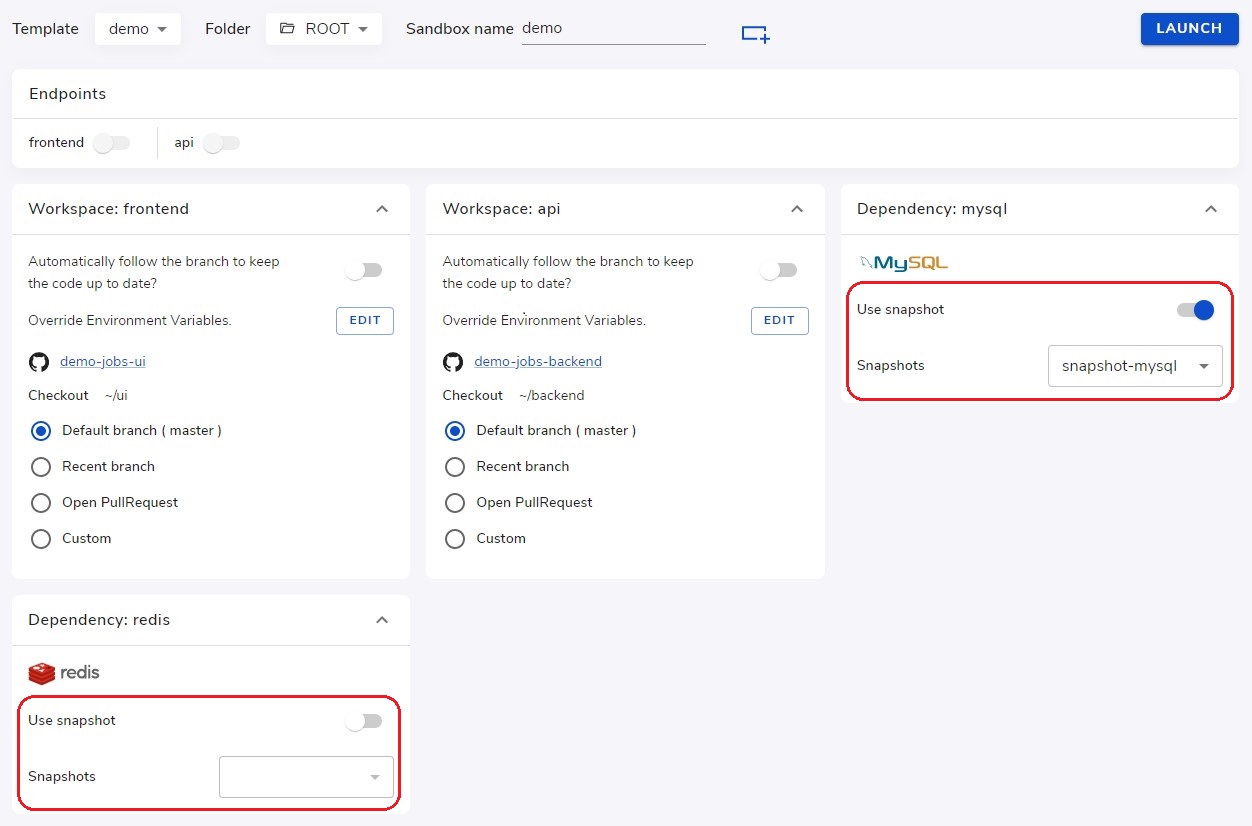
At sandbox launch time, you can also customize which dataset to load into the databases in the sandbox. Your team may have default data snapshots defined in the template for loading the default data set into the dev environments. Here you have the ability to change that for your sandbox.
Launching a sandbox
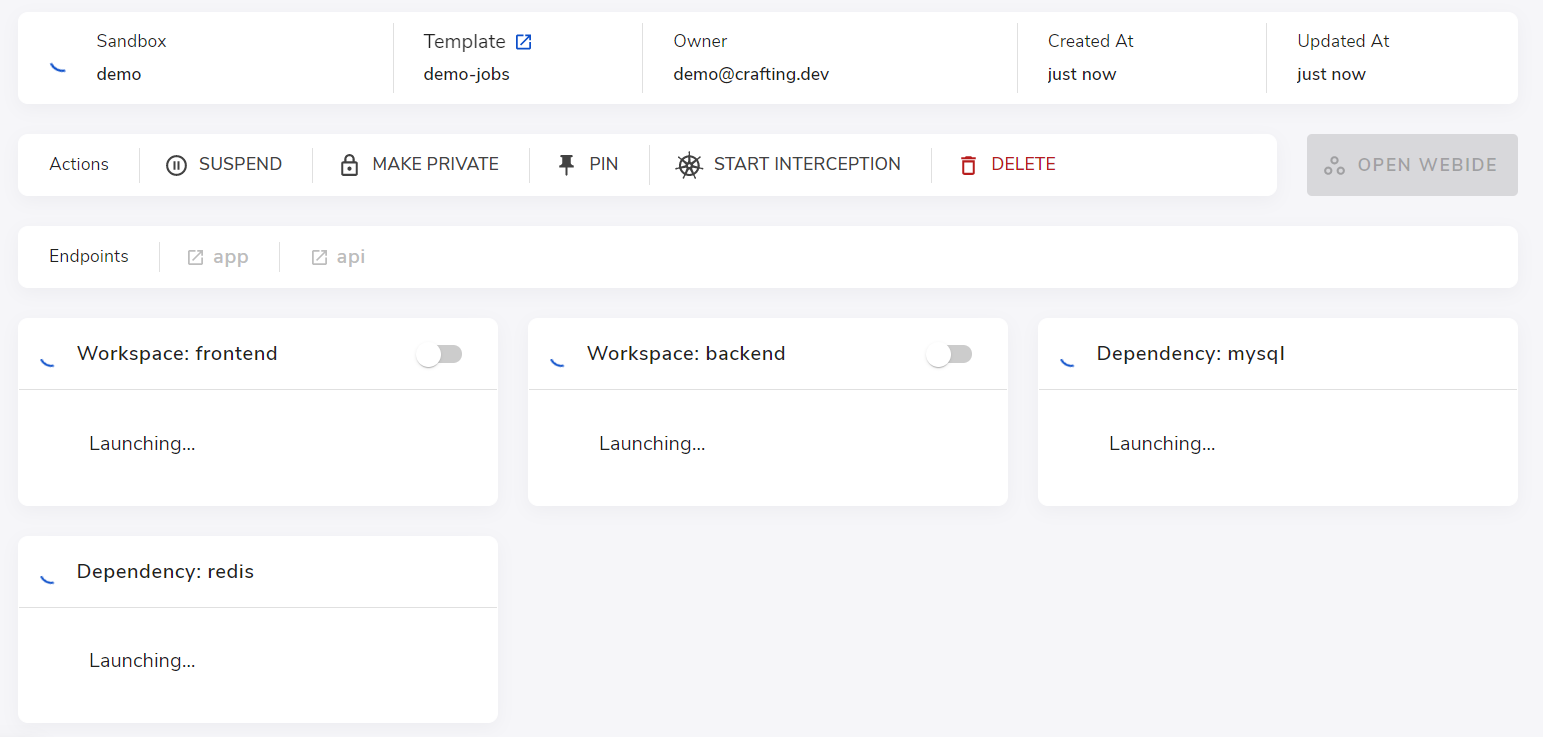
After clicking Launch from the customization page (or clicking Create directly from the dialog) your new sandbox is launched and the Crafting platform will launch corresponding containers in the sandbox. When it is ready, you can start working on the sandbox (see Work on a sandbox for details)
Create a sandbox from other places
Additionally, a developer can create sandbox from several other places:
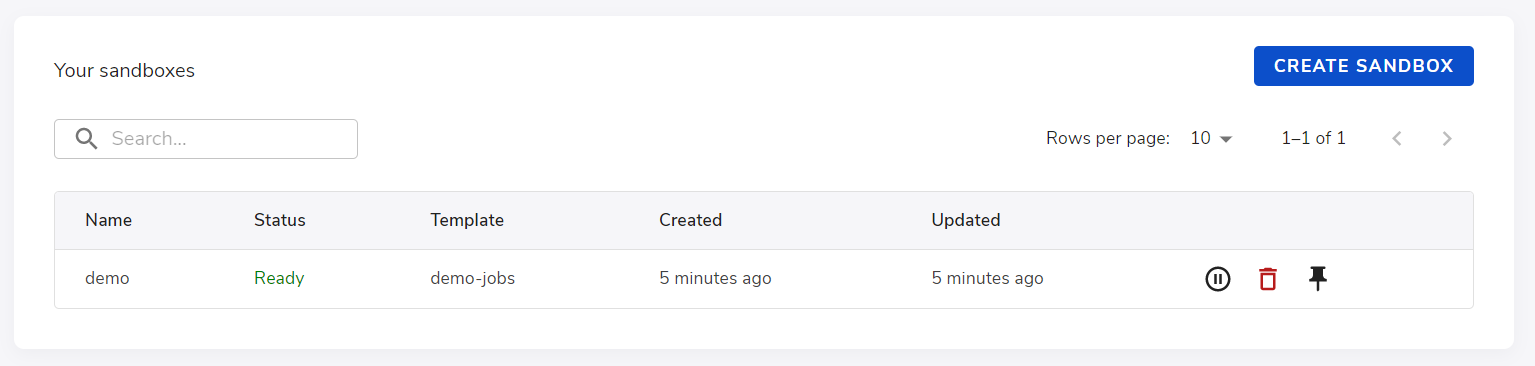
- From sandbox list page
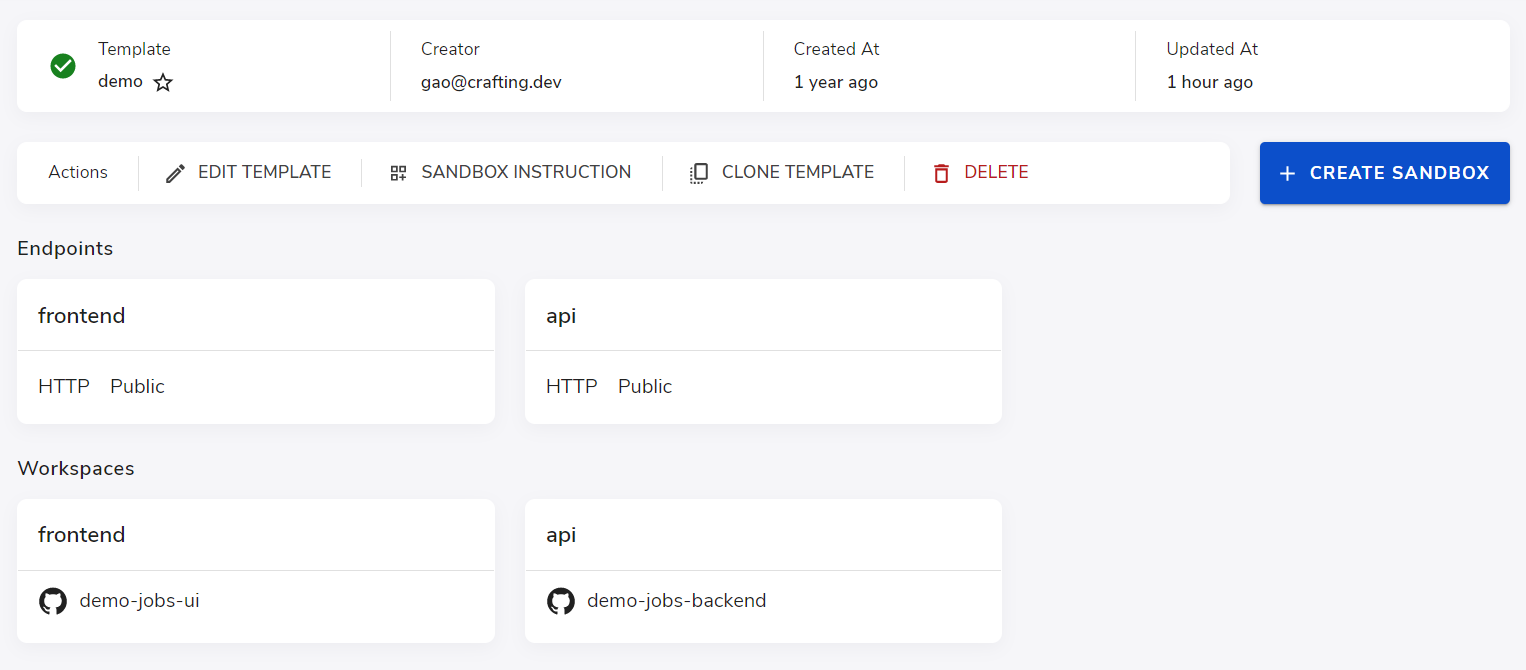
- From the template page
- Via Crafting command line tool (CLI)
$ cs sandbox createFrom the Crafting command line tool, cs, you can create a sandbox with detailed customization by specifying command line parameters. Please see Command Line Tool for details.
This is also the recommended way for programmatically create a sandbox in your automation workflow. Please see Git Service Integration for Preview for more description on the use case.
- By clicking a URL from browser
A developer can also create a sandbox by clicking a URL from their browser, e.g.,
https://sandboxes.cloud/create?app=frontend&ws_frontend_co_src_version=master&ws_frontend_mode=auto&dep_mysql_snapshot=mysql-snapshot&autolaunch=trueThis allows a customized link (usually auto-generated by tools) to be posted in Pull Requests or Slack channels for people to create sandbox with specific configuration, which is commonly in the preview use case. Please see Git Service Integration for Preview for details.
Updated 9 months ago